


We are starting to produce videos for (new) users of the Wanhao D9, whether the 300, 400 and 500, which will allow them to better use their printer and/or obtain more qualitative results.
Shortly we will open a new section dedicated to support in order to better help you, but also to provide better after-sales service monitoring.
By the way, take the opportunity to subscribe to our YouTube channel and follow our publications in a more interactive way!
Adjusting the chainring of a D9, from A to Z
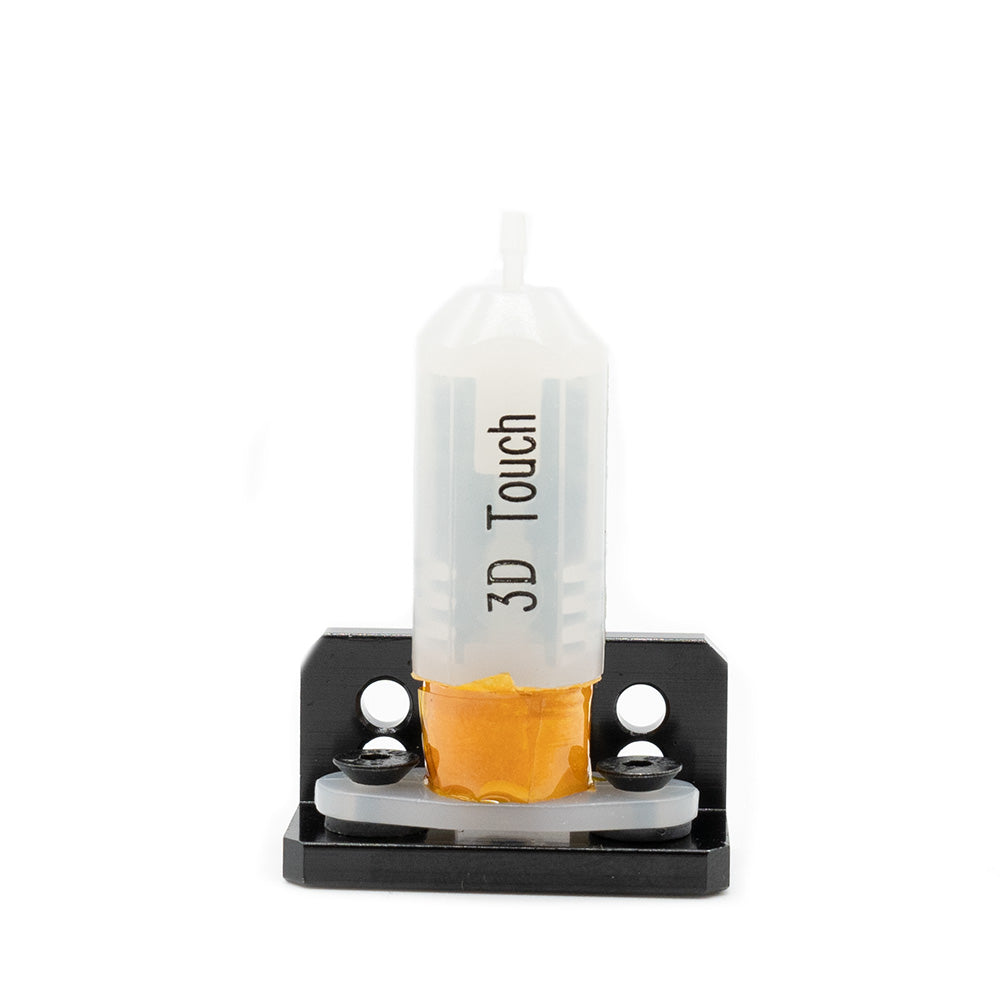
This is one of the most important points of FDM/filament printing: having a very well adjusted platen, in order to make your printing more reliable and especially the first layer. Note that the procedure can also apply to printers from other brands, having a sensor, such as the BL-Touch of the D9.
Find additional advice below the video.
- Always make your platen adjustment in printing condition, that is to say with your platen hot, but also your nozzle at printing temperature.
- Make sure your nozzle is very clean, with no filament residue. If you have residue, this can distort your adjustment, even more so with a cold nozzle and therefore hard filament: any offset of 0.1 or 0.2mm can compromise your adjustment.
- It is very important that your printer, in its entirety, is square, that is, have all angles at 90°. Some are movable, like the plate (Y) and the horizontal axis of the head (X). So as shown in the video, try to have an During the calibration process, take the time to properly align the nozzle and the plate at the 4 corners of the machine so that the nozzle and the plate are well aligned. repeat this operation twice, if your tray was really misaligned.
- The level sensor (BL-Touch) only compensates for microphones, see mini plate variations. If your plate is not horizontal, if your X axis is not aligned, the BL-Touch will not be able to work miracles ;) In addition, a non-horizontal X axis will force the motors vertical.
- Remember to degrease your tray regularly, especially if your tray is made of glass. Hands and other handling can deposit a film which will reduce or prevent filament adhesion. To degrease it, a paper towel with isopropyl alcohol or ethanol or any other degreaser should do the trick. However, do a test in a corner to check that your product does not damage the tray.
Configuring the slicer for your D9: Cura and Simplify 3D
The software part is very important in printing and in particular the "Slicer", this software which will transform your 3D object into a series of instructions for the printer, represented by a "gcode" file. This video allows you to configure your slicer and above all, adapt the volume to the size of your printer and use the correct startup GCode, allowing you to use the platen adjustment sensor.
Here again, some additional remarks after the video.
- We advise you to always look at the contents of the SD/MicroSD/USB key provided with the 3D printer: you will of course have models ready to print, but also documentation, and more.
- Cura or Simplify3D? Cura has the advantage of being free and the software evolves quickly. Simplify 3D is paid. However, in terms of print quality, Simplify is well above Cura or you have to be an expert in the latter and have advanced mastery of its advanced settings.
- For Cura: once installed, go to the printer manager (top left). Here you can add a 3D printer if you have not already done so and then by clicking on "Manage printers", then on "Machine settings", access the configuration. All you have to do is enter the volume of your printer if it is a D9 400 or 500. Below, you have the section to insert a startup GCode, you will need to replace it with the one present in the SD card of your printer or which you can find below.
- For Simplify3D, once the D9 has been added, you will need to edit the printing "Process" present in the list on the left of the interface by double clicking on it. Then go to the G-Code tab to enter the volume of your printer if it is a D9 400 or 500. Finally go to the Scripts tab where you can modify the "Startup script" using the one present in the card SD of your printer or which you can find below.
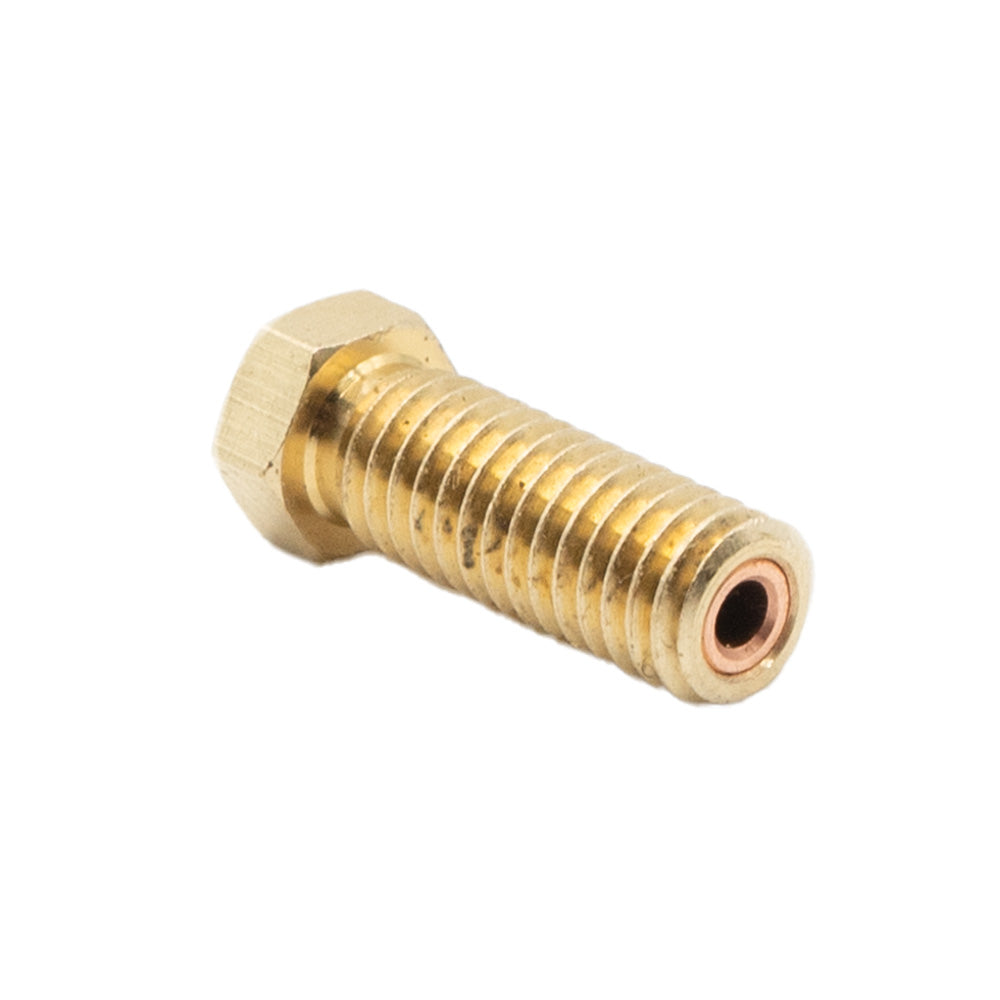
- Pay attention to the size of your nozzle. If you want to use a different nozzle than the 0.4mm one offered with your machine, you must also change the size in the slicer. This is done in the machine configuration under Cura, “Extruder” tab and for Simplify, in the first Process tab.
The Gcode:
;start of startgcode
G28; home all axes
G29; run auto leveling
G1 X5 Y5 Z0.2 F3000; get ready to prime
G92 E0; reset extrusion distance
G1 X160 E15 F600; prime nozzle
G1 X180 F5000; quick wipe
;end of start gcode
See you soon for new support videos and above all, happy 3D printing!

